How to Shrink Clothes Safely (Without Ruining Them)
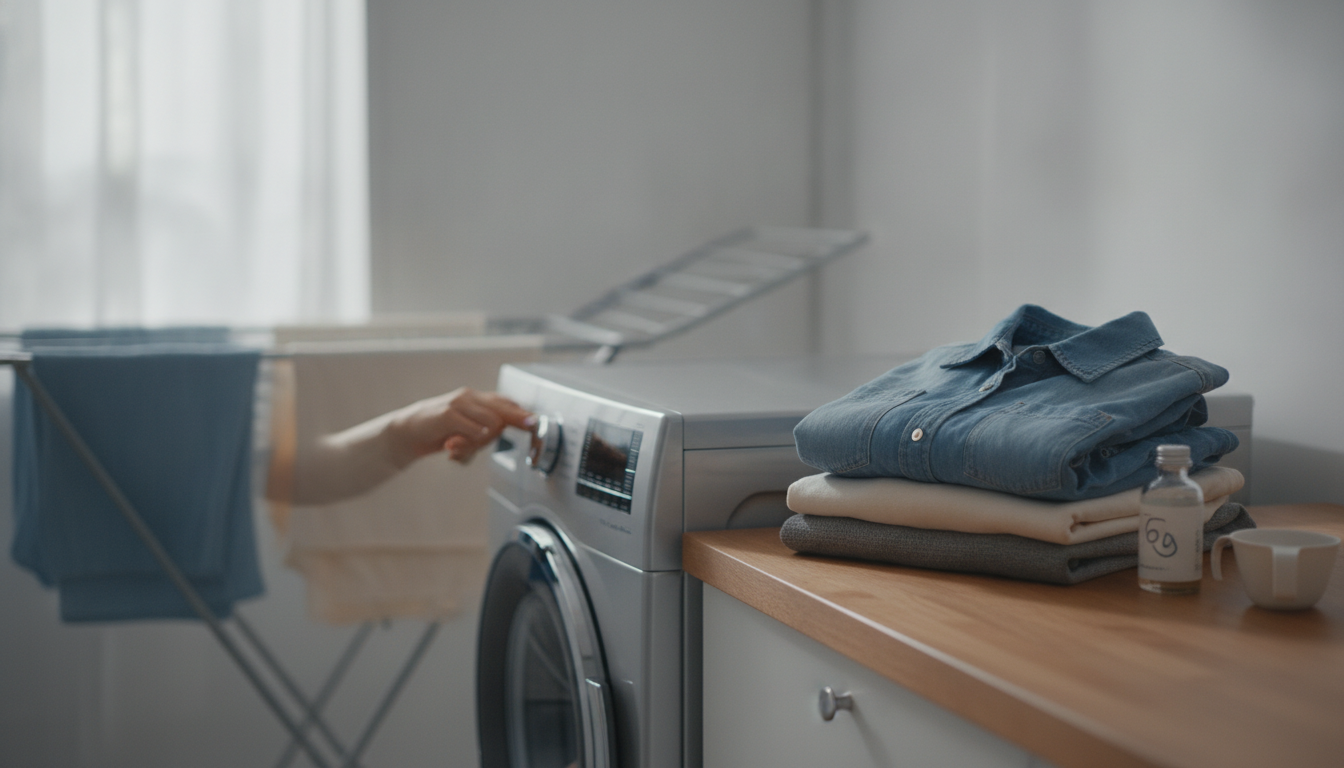
Start With the Fabric Label and a Quick Reality Check
Before you reach for hot water or crank the dryer, start with the care label. It’s the fastest way to learn what you’re working with—cotton, wool, polyester blends, rayon/viscose, linen, denim—and whether the maker warns “pre-shrunk,” “do not tumble dry,” or “dry clean only.” The Federal Trade Commission’s overview of labeling expectations is a helpful reference for what those symbols and instructions are meant to communicate: FTC Care Labeling Rule.
In general, natural fibers shrink more and more predictably than synthetics. Cotton and wool can tighten with heat, moisture, and (sometimes) agitation. Polyester, nylon, and acrylic tend to resist shrinking, so high heat often adds wear without adding much size change. Blends can be tricky: the cotton or wool portion may contract while the synthetic portion holds steady, which can distort seams, twist legs, or pucker hems.
Set expectations for incremental change. Many everyday garments realistically shrink about 1–3% using controlled methods. Larger “size drops” are possible on some 100% cotton items, but they’re less predictable and easier to overshoot. If the piece is expensive, lined, heavily structured (like blazers), or marked “dry clean only,” tailoring is usually the safer route than trying to force shrinkage with heat.
A Shrink-Smart Decision Path: Choose the Safest Method First
The lowest-risk approach is the one that changes as little as possible, as slowly as possible. When only one spot is loose—waistband, cuffs, or a stretched collar—targeted shrinking often beats full-garment shrinking because it reduces the risk of overall distortion and seam puckering.
As a rule, moisture plus gentle heat encourages natural fibers to tighten. High heat plus tumbling can increase shrink on cotton, but it also increases the odds of over-shrinking, twisting, and surface damage. If you’re unsure, start with warm water and careful air-dry shaping, then step up to brief, low-to-medium dryer intervals only if needed.
Always test first on a hidden area (inside hem or seam allowance). Look for texture changes, color bleeding, and how quickly the fabric responds. If dye transfers, wash separately and avoid long soaks.Method selector by fabric type
| Fabric | Best low-risk approach | Higher-shrink option | Main risk to watch |
|---|---|---|---|
| Cotton (tees, shirts) | Warm wash, reshape flat dry | Hot wash + medium dryer in short cycles | Over-shrinking; twisting at side seams |
| Denim (100% cotton) | Warm soak, hang dry partially, then finish flat | Hot wash + dryer (monitor closely) | Waistband warping; uneven leg twist |
| Wool | Cool-to-lukewarm soak, minimal agitation, lay flat | Controlled warm bath + brief tumble (very cautious) | Felting/shrink too far; texture changes |
| Linen | Warm wash, reshape, air dry | Warm wash + brief dryer finishing | Wrinkling; seam puckering |
| Polyester / nylon | Steam + heat shaping (low), then cool set | Dryer heat may do little; avoid extremes | Heat shine; melting/deformation |
| Rayon/viscose | Avoid intentional shrink; professional help if needed | Not recommended | Distortion, rippling, weak fibers when wet |
Safe, Controlled Shrink Methods (Step-by-Step)
1) Warm-wash method (gentle)
Wash on warm with a mild detergent. Remove promptly at the end of the cycle so the garment doesn’t sit twisted. While damp, reshape seams, plackets, and hems, then dry flat or hang with even support (wide hanger for knits, two-point support for heavier items). Recheck fit once fully dry before adding more heat.
2) Soak method (more control)
Soak the garment for 20–30 minutes in warm water. Press water out gently—don’t wring. Lay it on a towel, roll the towel up, and press to remove excess moisture. Reshape to the right proportions and air dry. This method is slower but helps you avoid “surprise shrink” that can happen in a hot dryer.
3) Short-cycle dryer method (highest risk, effective on cotton)
Use low or medium heat for 5–10 minute intervals. Remove and check fit each time—especially length on shirts and sleeves. Stop early and air dry the rest once it’s close; that’s how you prevent the last few minutes of heat from pushing it past the target size.
4) Targeted shrink (spot tightening)
Dampen only the area you want smaller with a spray bottle (waistband, cuffs, hem). Apply warm air with a hair dryer on low/medium while smoothing the fabric in the direction you want it to lay. Let it cool to “set,” then repeat gradually if needed.
5) Post-shrink shaping
While the garment is still damp, align side seams, straighten hems, and smooth knits along the grain to reduce twisting after drying. For button fronts, lay the placket straight so it doesn’t dry wavy.
Fabric-Specific Tips for Better Results
Wool: Avoid sudden temperature changes and agitation; that’s what causes felting. For wool-care best practices, the Woolmark guidance is a reliable reference: The Woolmark Company: Care.
Common Mistakes That Ruin Clothes (and What to Do Instead)
When Shrinking Isn’t the Best Fix
Quick Fit-Check Routine After Each Attempt
Recommended Picks (In Stock)
- A Smart Guide to Shrinking Clothes (Without Ruining Them) | How to Shrink Clothes That Are Too Big Safely & Effectively
- Stylish Boys’ Corduroy Hooded Pullover with Pocket
FAQ
How can clothes be shrunk without a dryer?
Use a warm-water soak or warm wash, then towel-roll to remove moisture and reshape the garment while it air dries. Repeat in small increments, since cotton and wool respond far more than synthetics.
How much can a 100% cotton shirt shrink safely?
With controlled warm washing and careful drying, many cotton shirts shrink about 1–3% predictably. Hot wash and dryer heat can shrink more, but checking length every 5–10 minutes helps avoid overdoing it.
Can polyester or blended fabrics be shrunk effectively?
Polyester and other synthetics resist shrinking, so results are often minimal. Blends may shrink unevenly, so gentle heat shaping or tailoring is usually more reliable than high-heat attempts.







Leave a comment