Reset a Smart Pet Feeder Button: Quick Steps & Fixes

How do you reset the button on the smart pet feeder?
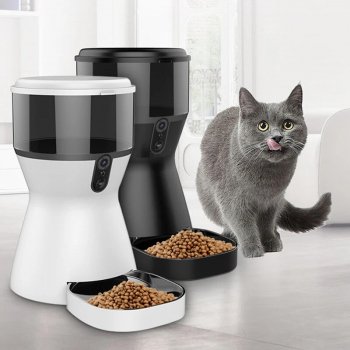
Most smart pet feeders use the same “press-and-hold” reset method, but the exact timing and light pattern can vary by model. Start by keeping the feeder powered on, then locate the small Reset button (often on the back, bottom, or near the Wi‑Fi indicator). Press and hold it until you see the status LED change—common signals include a rapid blink, alternating colors, or a beep—then release. This typically returns the feeder to pairing mode so it can be added again in the app.
Quick reset steps (works for many models)
1) Leave the feeder plugged in and turned on. 2) Press and hold the Reset button for 5–10 seconds. 3) Watch for the LED to flash quickly or change color, then release. 4) In your phone app, remove the old device entry (if present) and add the feeder again as a new device.
If the reset doesn’t “take”
Try a longer hold (10–15 seconds), then power-cycle the unit: unplug for 30 seconds, plug back in, and repeat the reset. If the button is recessed, use a paperclip and press firmly—some feeders need a steady press rather than quick taps. Also confirm you’re resetting the correct button (some units have separate “Feed” and “Wi‑Fi/Reset” controls).
After resetting: reconnecting tips
During setup, connect your phone to a 2.4 GHz Wi‑Fi network if your feeder doesn’t support 5 GHz. Keep the feeder close to the router for initial pairing, and allow Bluetooth and location permissions if the app requests them. Once connected, you can move the feeder back to its usual spot.
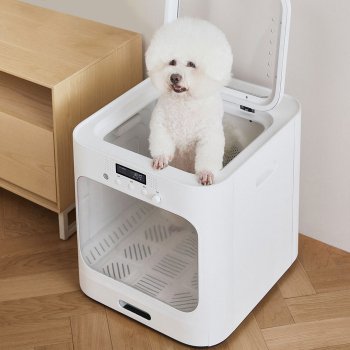
For more hands-free pet care ideas and setup-friendly routines, see the main guide here: hands-free pet drying box guide for cats and small dogs.
FAQ
How do I put my smart pet feeder into pairing mode?
Usually, pairing mode starts right after a reset: hold the reset/Wi‑Fi button until the indicator light flashes rapidly, then add the device in the app. If it times out, repeat the hold-and-release sequence and keep the feeder near your router.





Leave a comment