Build a 3D Wooden Steam Locomotive: Mechanical Kit
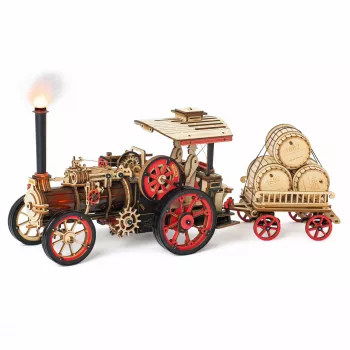
3D Wooden Steam Locomotive Puzzle Kit – A Mechanical Build for Adults & Teens
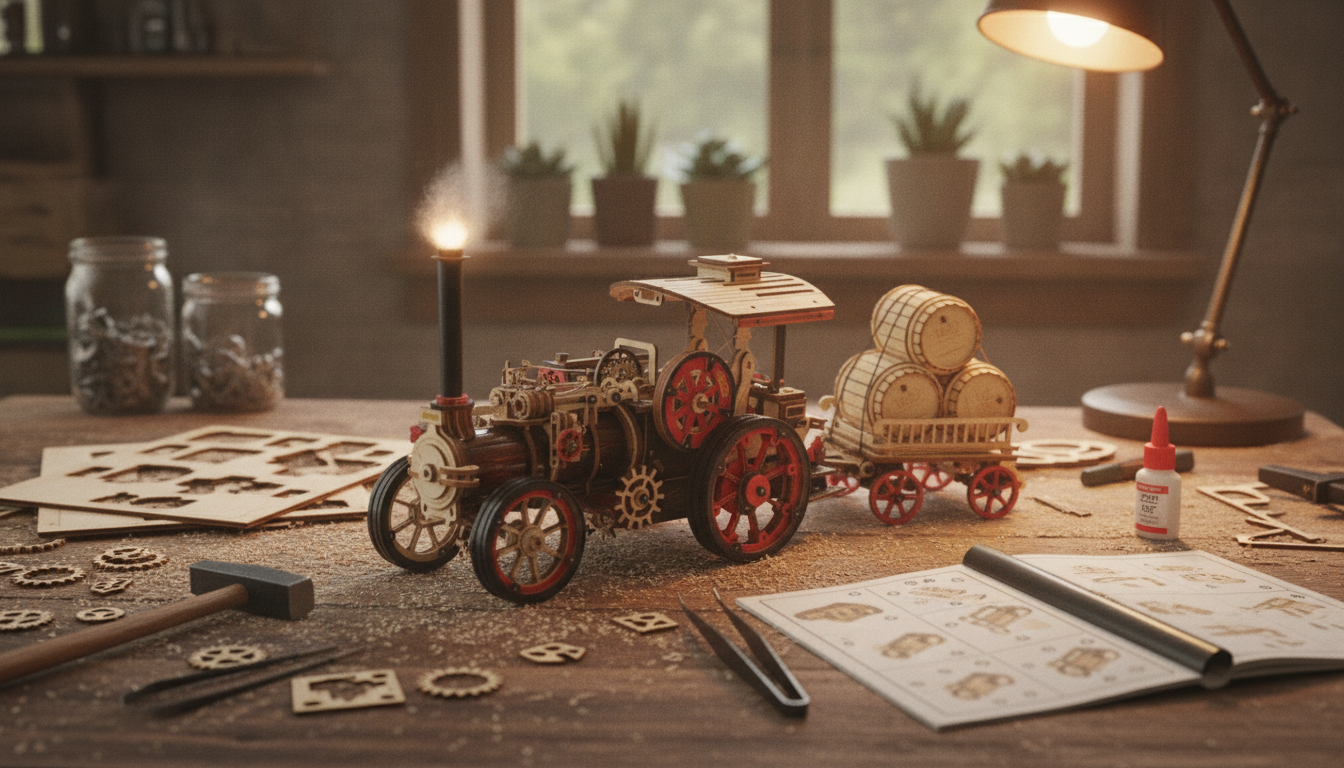
A wooden steam locomotive model combines the satisfaction of a hands-on puzzle with the charm of classic rail design. This 3D kit is designed for focused build sessions, display-worthy results, and a rewarding way to unplug—whether it’s a weekend project, a gift, or a desk showcase.
Steam-era designs are especially fun to recreate because the iconic profile is instantly recognizable: big driving wheels, connecting rods, a long boiler silhouette, and a “built to work” stance. If you enjoy mechanical objects (or simply like the look of classic rail), a buildable locomotive is a great blend of craft and engineering-in-miniature. For a bit of historical context on why these machines were so influential, the Smithsonian offers broad coverage on steam locomotives, and Encyclopaedia Britannica explains the fundamentals behind steam-era mechanics: Smithsonian Institution and Encyclopaedia Britannica.
Why a Wooden Steam Locomotive Model Feels So Rewarding
Unlike quick crafts, a 3D wooden mechanical build has a satisfying “progress curve”—you see the project transform from flat sheets into a structured frame, then into a rolling, detailed locomotive. It’s the kind of build that encourages focus without feeling repetitive.
- A clear start-to-finish project: Sorting pieces, assembling submodules, then bringing the locomotive form together gives a steady sense of momentum.
- Mechanical elements add moving-parts satisfaction: Wheel sets, linkage components, and alignment steps create that “it works!” moment beyond a standard puzzle.
- Steam locomotive styling has real presence: Wheels, rods, and classic proportions look striking on a shelf, desk, or hobby wall.
- A strong shared-time build: Teens and adults can split steps, double-check alignment, and troubleshoot fit together without needing advanced tools.
What Comes in the Kit and How Assembly Usually Works
Most wooden mechanical locomotive kits follow a similar structure: pre-cut wood sheets (often laser-cut) and an assembly sequence that builds strength first, then adds motion, then finishes with the “skin” and details.
- Pre-cut wooden sheets: Designed to assemble into a locomotive-shaped mechanical model with defined subassemblies.
- Interlocking parts: Pieces typically slot together to form the frame, wheel sets, and decorative exterior panels.
- Common build flow: Start with the base/frame, move to wheel and linkage alignment, then finish with exterior details and trim.
- Helpful habits: Dry-fit parts before final pressure, keep pieces organized by step, and check squareness as the frame grows.
- Set up for success: A clean work surface and good lighting reduce missed tabs and prevent misalignment in the mechanical sections.
If you’re building at a shared table, consider using a shallow tray or small bowls for tiny connectors. Keeping “left side” and “right side” parts separate (when the instructions mirror steps) can save time later.
Key Details at a Glance
Use this snapshot to compare needs: display space, patience level, and the kind of build experience desired.
| Detail | What to expect |
|---|---|
| Model type | 3D wooden mechanical locomotive puzzle kit |
| Recommended audience | Adults and teens (guided supervision helpful for younger builders) |
| Build style | Step-by-step assembly with interlocking wooden parts |
| Tools | Often tool-light; a small file/sandpaper and tweezers can help with tight fits |
| Best use | Hands-on hobby build, gift project, display model |
| Care | Keep dry; dust gently; avoid direct moisture and prolonged sun exposure |
Tips for a Smoother Build (Especially the Mechanical Bits)
The “mechanical magic” of a locomotive model depends on clean fits and consistent alignment. A few small habits make the difference between a smooth-moving build and one that binds up later.
- Sort before starting: Separate long structural pieces, wheel components, and small connectors so you’re not hunting mid-step.
- Prevent stress on tabs: Press evenly and avoid twisting. If a joint is too tight, lightly sand the edge instead of forcing it.
- Check alignment frequently: A tiny angle error early can affect wheel/rod movement later, especially around the wheel sets.
- Handle moving assemblies carefully: Linkage parts benefit from careful seating and consistent spacing—rushed installs can create friction points.
- Take breaks: A quick pause helps you catch reversed parts, skipped steps, and slightly off-square assemblies before they become “locked in.”
If you feel resistance while fitting two parts, stop and reassess. With wooden mechanical models, “almost fits” can be a signal that the piece is flipped, offset by one notch, or meant for a different step.
Where It Fits: Display, Gifts, and Hobby Collections
Featured Products (In Stock)
- 3D Wooden Steam Locomotive Puzzle Kit – Mechanical Model for Adults & Teens ($40.51)
- Bluetooth MP3 MP4 Player with 4.0″ Touchscreen ($34.67) — a simple way to keep a music or audiobook queue going during longer build sessions.
- Mini 8GB Voice Recorder Digital Audio MP3 Player USB Pen with Earphones ($9.82) — handy for quick voice notes if you like tracking build progress or capturing step reminders.
Safety and Care Notes
FAQ
Is this kit better for adults only, or can teens build it too?
Teens can build it successfully with patience and careful attention to alignment. For younger teens, supervision can help with small parts and the mechanical steps where fit and spacing matter most.
Do you need glue or special tools to assemble a wooden mechanical model like this?
Many wooden model kits are designed around interlocking joints, so glue often isn’t required. A small file or sandpaper and tweezers can be helpful for tight fits, and some builders use a tiny amount of glue only if they prefer a more permanent hold.
How can the finished model be kept looking good on display?
Keep it dry, dust it gently, and avoid direct sunlight or high humidity that can fade or warp wood over time. If the model has moving parts, handle and rotate them carefully to prevent stress on linkages.





Leave a comment